Before You Start
1
Monk installed
If not, follow Install Monk.
2
Agent connected
The plugin connects your coding agent to Monk over MCP automatically during install — there is no separate connection step. If you’re unsure, ask your agent to check installation status.
3
Cloud credentials (optional)
If you want to deploy to the cloud (recommended), have your cloud provider credentials ready. See Obtaining Credentials for AWS, GCP, Azure, or DigitalOcean setup.Want to try Monk locally first? Skip this step — Monk can deploy to your local machine too.
Deploy
Open your project in your IDE, then tell your coding agent:What Happens Next
Monk will ask for the essentials — cloud provider, region, and credentials if not already configured. It may also ask about service choices when there are meaningful alternatives (managed database vs. self-hosted, for example).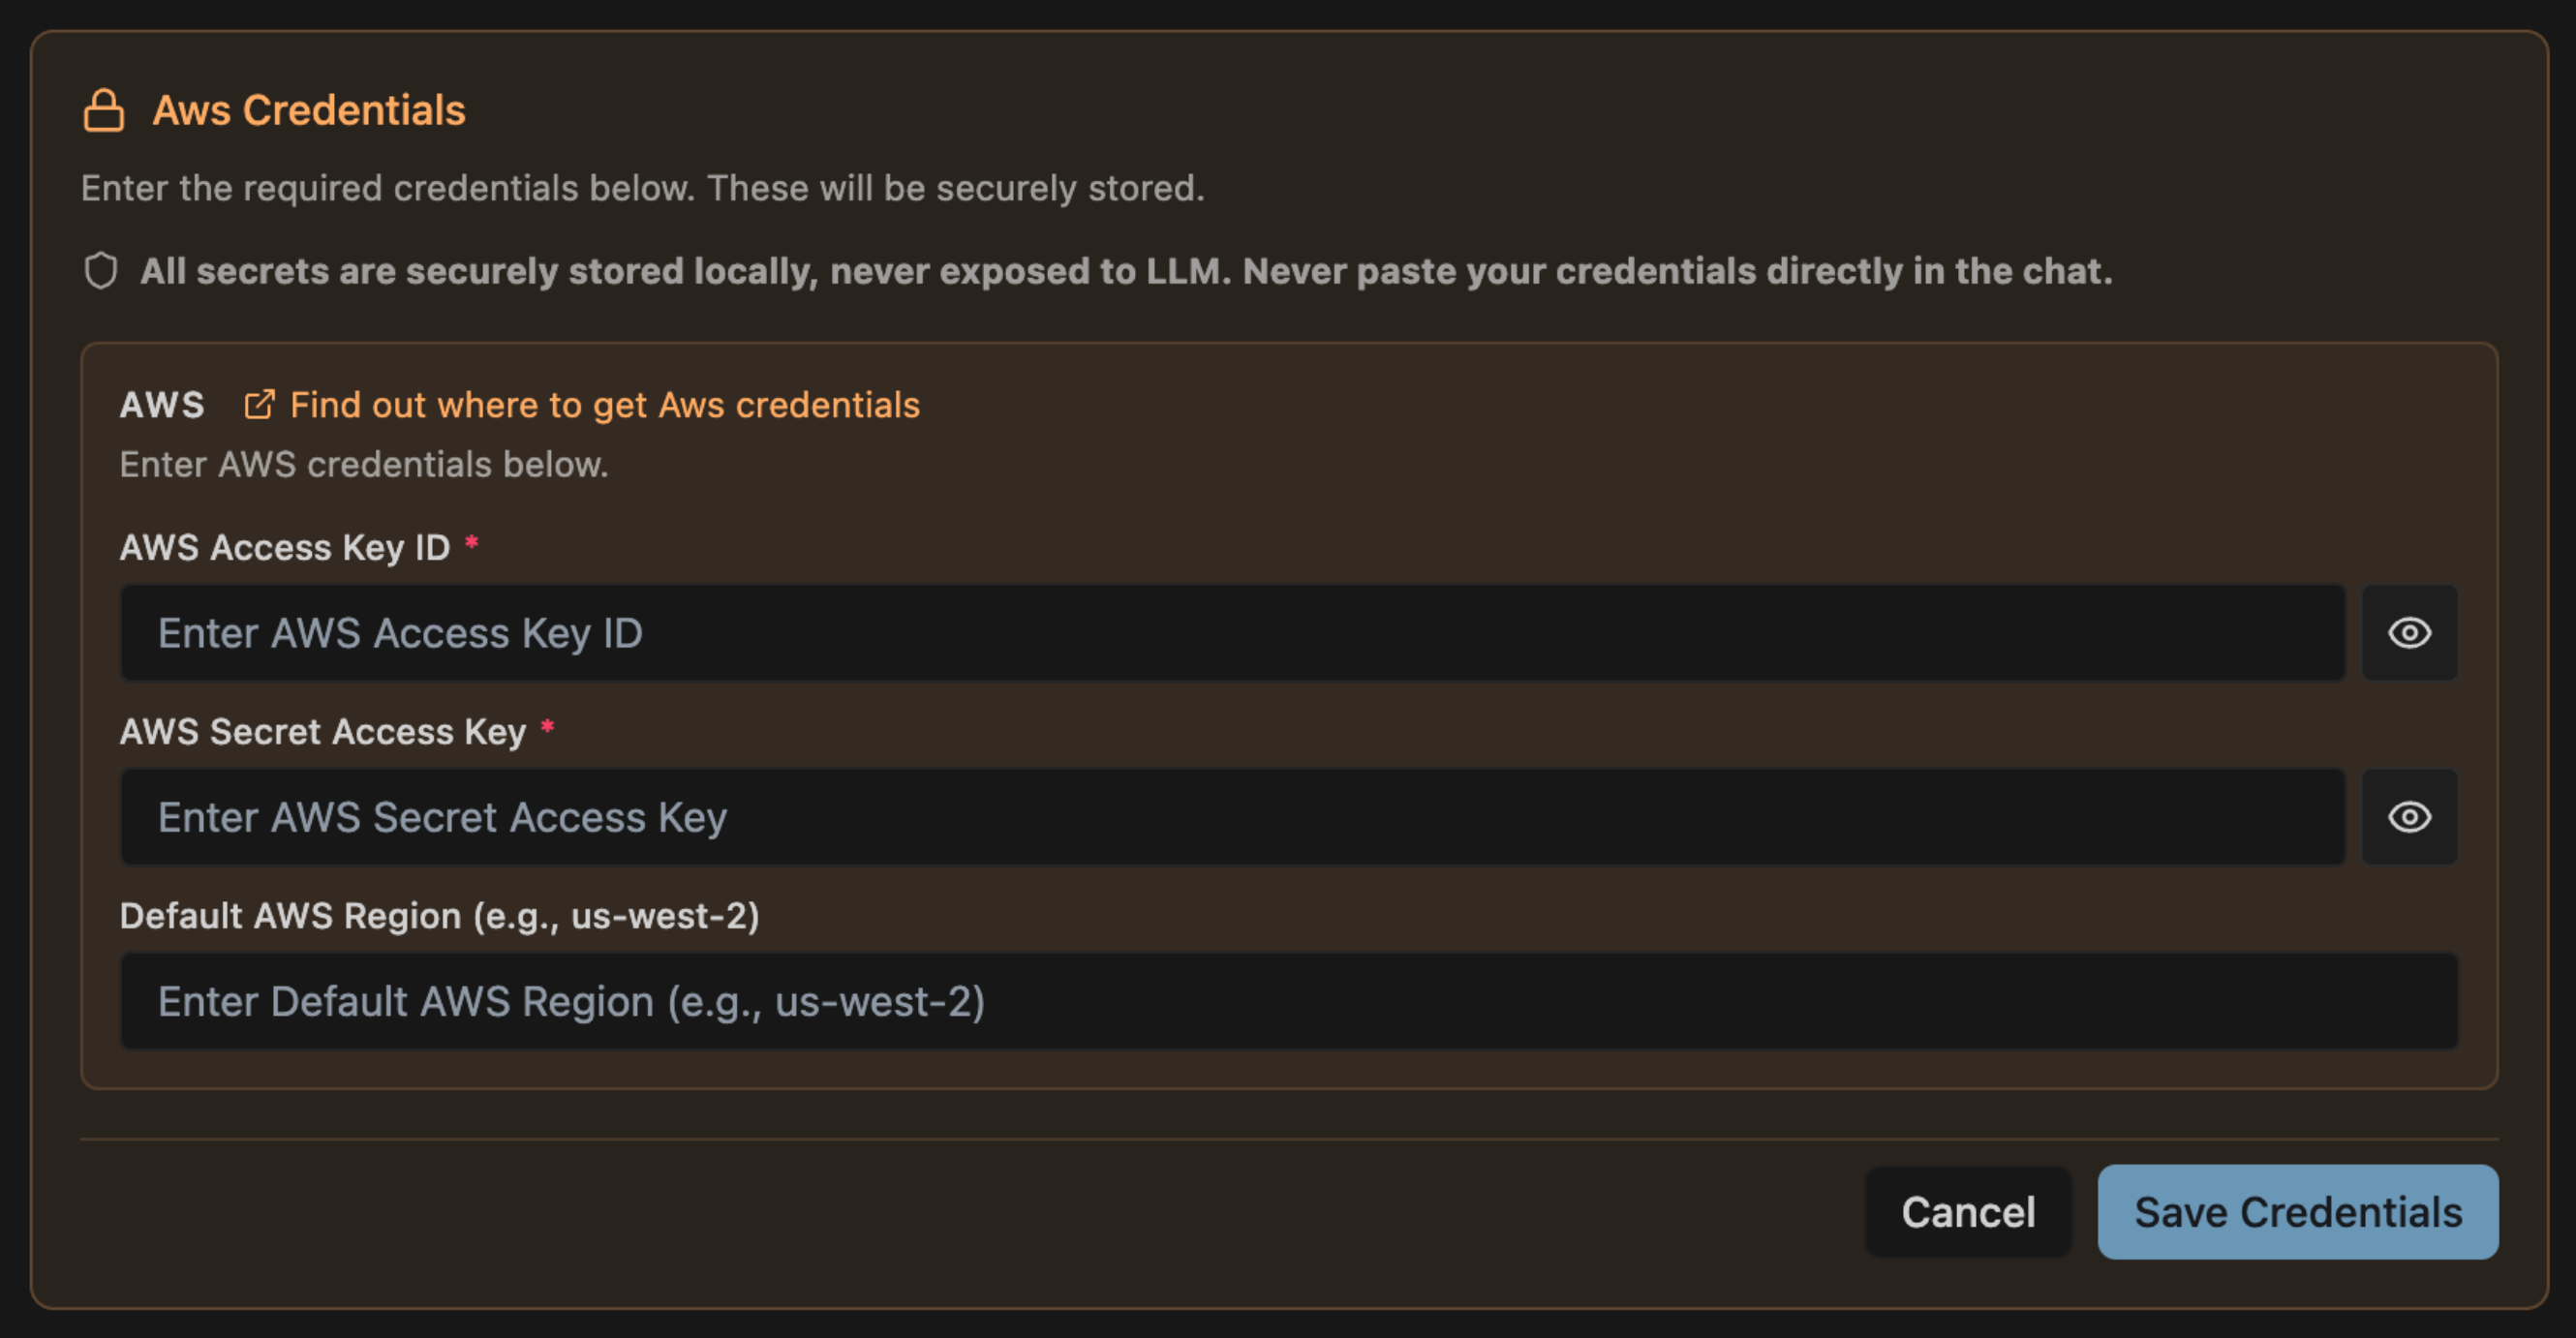
1
Analyzes your code and identifies services and dependencies
2
Builds Docker containers
3
Provisions cloud infrastructure — VMs, networking, storage
4
Deploys everything and wires services together
5
Verifies health and reports back
You Are Live
When deployment finishes, Monk reports live URLs, service health, and estimated monthly cost. Your application is running on your cloud. Try asking your agent:Autonomous operations
Your app is deployed — now learn how Monk keeps it running, sets up CI/CD, and monitors your services
Tips
If Monk asks too many questions, put more detail in your prompt. If you want to preview the plan before committing, ask your agent:Cleaning Up
Done trying things out? Tell your coding agent or Monk directly:Troubleshooting
Troubleshooting
Common issues and how to fix them