Prerequisites
Make sure you have completed the Monk setup and the MCP server step shows as running in the setup screen.Setup
Trust the Monk server
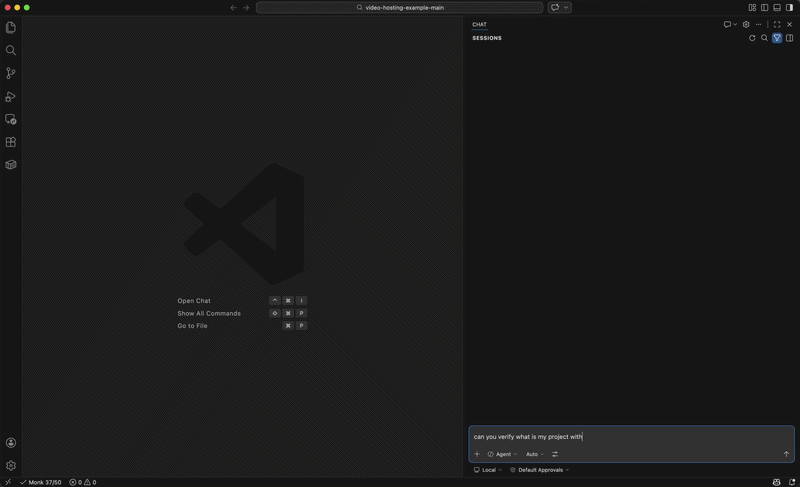
Open Copilot Chat and switch to Agent mode. VS Code will detect the Monk MCP server from
.vscode/mcp.json and ask you to trust it. Approve it.Enable Monk tools in Copilot
Use the Configure Tools button in the Copilot chat input and confirm that Monk tools are enabled for the session.
Deploy your first app
Monk is connected — now deploy your project
Troubleshooting
If Monk does not appear in Copilot, runMCP: List Servers from the command palette and confirm the workspace server is listed. If you declined trust earlier, run MCP: Reset Trust and start Monk again. Restarting VS Code after config changes can also help.
More troubleshooting
Common issues and how to fix them