- Antigravity IDE — a VS Code fork. Install the Monk extension from the marketplace, the same way you would in Cursor or VS Code.
- Antigravity 2.0 — a standalone desktop app and CLI (
agy). Install the Monk plugin package into Antigravity’s plugin directory.
~/.gemini/config/mcp_config.json for MCP configuration, so monk-agent is accessible from either surface once set up.
Antigravity IDE
The Monk VS Code extension works in Antigravity IDE. It installs like any other IDE extension and auto-configures the MCP server.Prerequisites
Make sure you have completed the Monk setup and the MCP server step shows as running in the setup screen.Setup
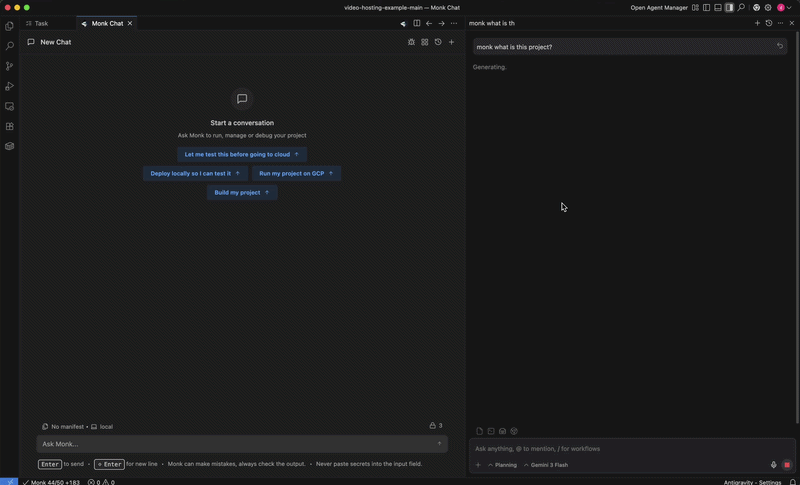
Install the Monk extension
Open Antigravity IDE, go to the Extensions panel, and search for Monk. Or click Install from the marketplace:
Allow Monk in the agent panel
Open the agent panel, then go to Settings → Customizations → Manage MCP Servers. Monk should appear for the current project — enable it and approve its tools.
Antigravity 2.0
Antigravity 2.0 uses a plugin directory instead of a VS Code extension marketplace. The Monk plugin registers the MCP server, injects amonk skill the agent discovers automatically, and starts monk-agent on demand via a pre-invocation hook.
Prerequisites
Make sure you have completed the Monk setup so the monk-agent binary is installed at~/.monk/bin/monk-agent.
Setup
Download the Monk plugin package
Download and extract the Antigravity plugin bundle from get.monk.io:For the nightly build, replace
stable with nightly in the URL.Start monk-agent and register the MCP server
Run the bundled start script once. It launches monk-agent in the background and writes a
monk entry to ~/.gemini/config/mcp_config.json:Deploy your first app
Monk is connected — now deploy your project
Troubleshooting
Monk does not appear in the MCP server list (Antigravity 2.0) Confirm monk-agent is running:~/.gemini/config/mcp_config.json is missing a monk entry, re-run the start script:
~/.gemini/config/plugins/monk/plugin.json exists and that a project is open — Antigravity 2.0 loads plugins in workspace context. Reopen the project or restart the app if the plugin doesn’t appear.
More troubleshooting
Common issues and how to fix them