Want to use Monk without the IDE extension? Install the Monk agent plugin with
/plugin marketplace add monk-io/monk-plugin.Prerequisites
Make sure you have completed the Monk setup and the MCP server step shows as running in the setup screen.Setup
Open Claude Code in the same directory
Launch Claude Code from the terminal in the same project root. It picks up the Monk entry from 
~/.claude.json automatically.Verify Monk is listed
Run
/mcp inside Claude Code. Monk should appear in the server list for the current project.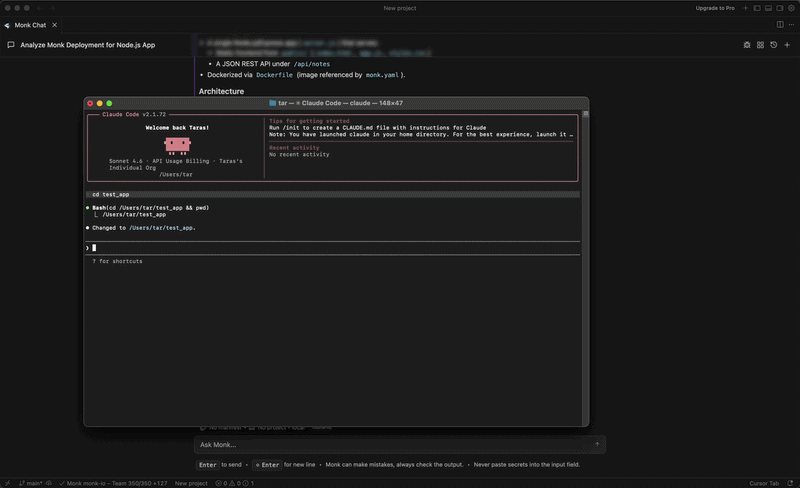
Deploy your first app
Monk is connected — now deploy your project
Install the agent plugin
Direct Claude Code plugin setup and troubleshooting
Troubleshooting
If Monk does not appear in/mcp, confirm that the IDE with Monk is still running with the same project open and that MCP is enabled for this workspace. Restarting Claude Code in the project directory usually resolves config detection issues.
More troubleshooting
Common issues and how to fix them