What It Does
Team Collaboration lets your team share infrastructure under one organization. Invite members, assign roles, link clusters, share secrets, control access with RBAC. That’s it. Organization and cluster management live in the Monk dashboard. Day-to-day ops, secrets, and RBAC work through chat.How to Create an Organization
1
Open the Monk Dashboard
Go to monk.io/dashboard and sign in.
2
Open the Account Dropdown
In the Account section, next to Personal, click the drop-down icon.
3
Select Create a New Organization
A window titled Select Monk Plan/Context appears. Pick Create a New Organization.
4
Name Your Organization
Type a name and press Enter.
5
Configure Seats
You’ll be redirected to monk.io. Choose the number of seats, then click Continue to Checkout.
6
Complete Checkout
Purchase your subscription to finalize the organization.
7
Return to the Dashboard
After checkout, you’re redirected back. Your organization is ready.
Billing is per-seat. The monthly cost adjusts as you add or remove seats.
How to Access
Organization panel: Open the Monk dashboard and click the org/team button. Clusters panel: Open the Monk dashboard and click the clusters button.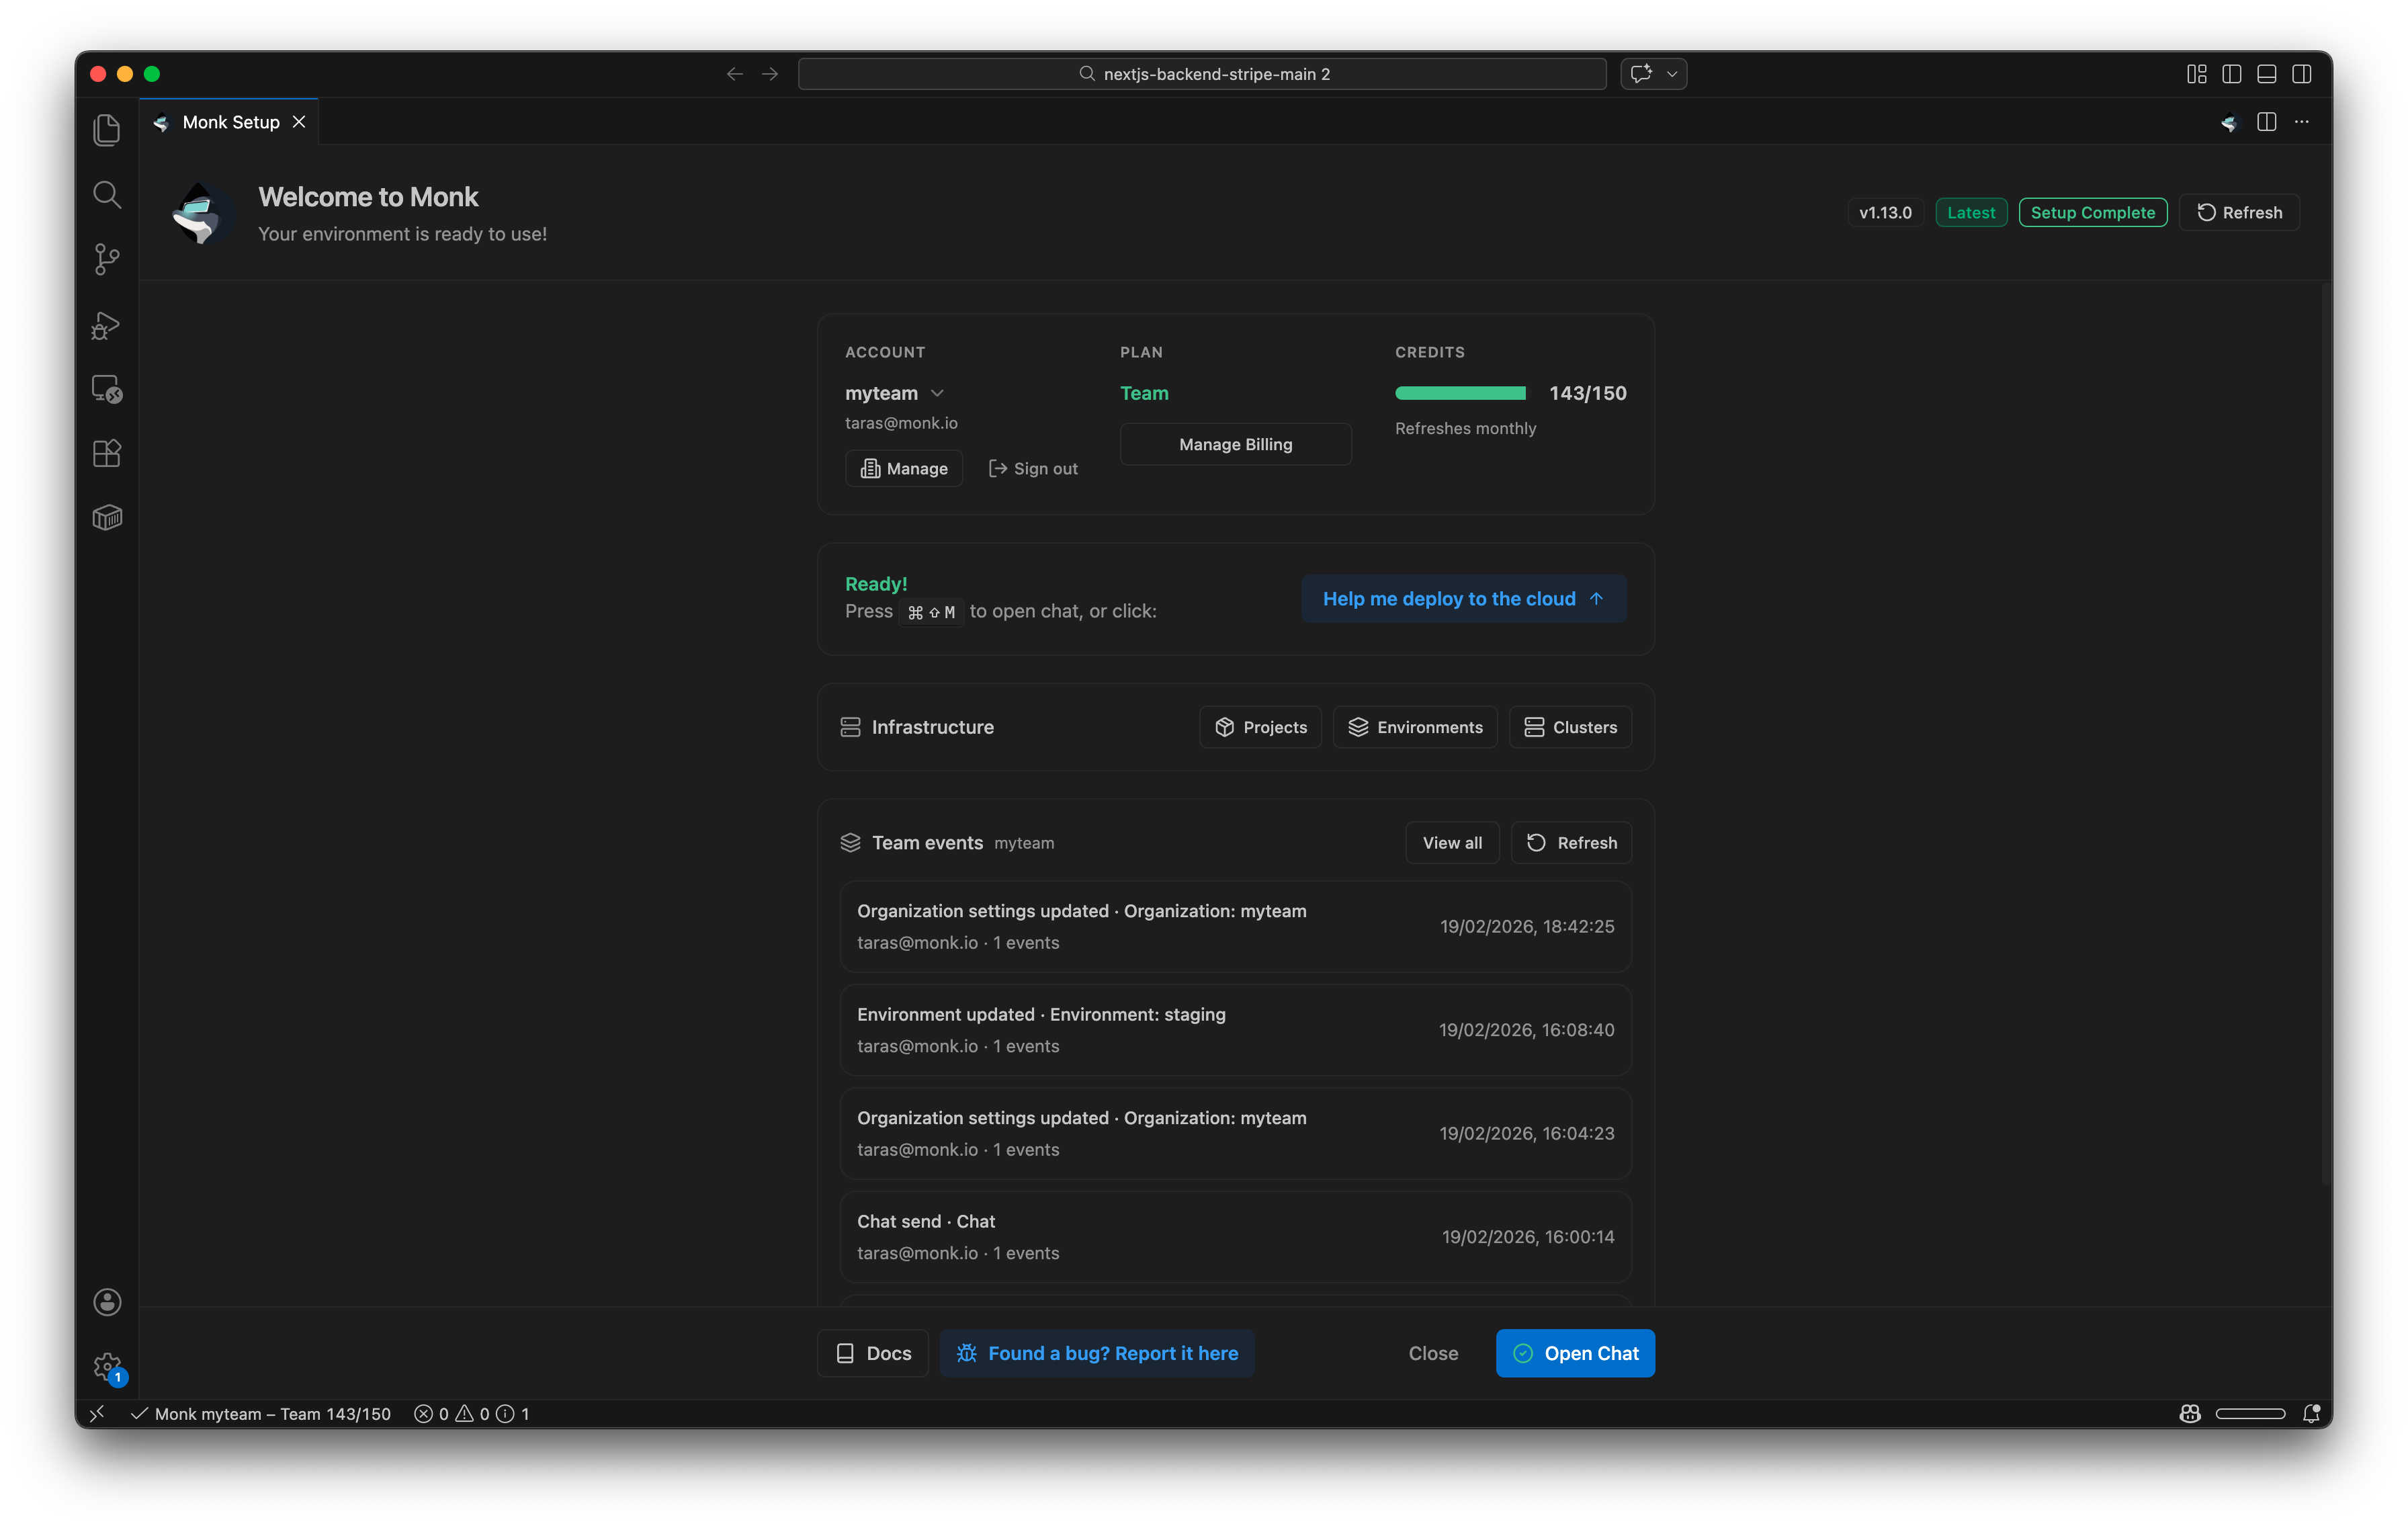
How It Works
Managing Organizations
The Organization panel shows your org overview (plan, tokens, seats), members, pending invites, RBAC roles, cluster policies, environments, projects, and activity logs. Use the org selector at the top to switch between personal and organization contexts.Inviting Team Members
1
Open Organization Management
Click the Manage button under the Account section.
2
Send an Invite
In the Organization Management panel, go to the Invite section. Enter the user’s email and click Invite.
3
Member Accepts
The invited user gets an email. They click Accept Invitation and they’re in.
Member Roles
Three base roles: owner, admin, and member.- Owner: Full control over everything — settings, membership, clusters, environments, projects.
- Admin: Can manage members (except owners), clusters, environments, and RBAC.
- Member: Can deploy and create/delete clusters based on org policies.
- Custom: A role you define with specific permissions (e.g., QA Tester).
RBAC
RBAC builds on the base roles. You create custom roles with fine-grained permissions scoped to templates, secrets, clusters, projects, environments, and audit logs. Permissions can target specific environments. In the UI: Click Manage Roles in the Organization panel.
Full details in Access Control & Security.
Custom Instructions
You can define custom instructions at three levels: organization, project, and environment. These tell Monk’s agents how to behave — what to deploy, what to avoid, what defaults to use.
Set instructions like “don’t spawn large instances” or “always use this database provider.” They apply automatically to every agent action within that scope.
Full details in Custom Knowledge.
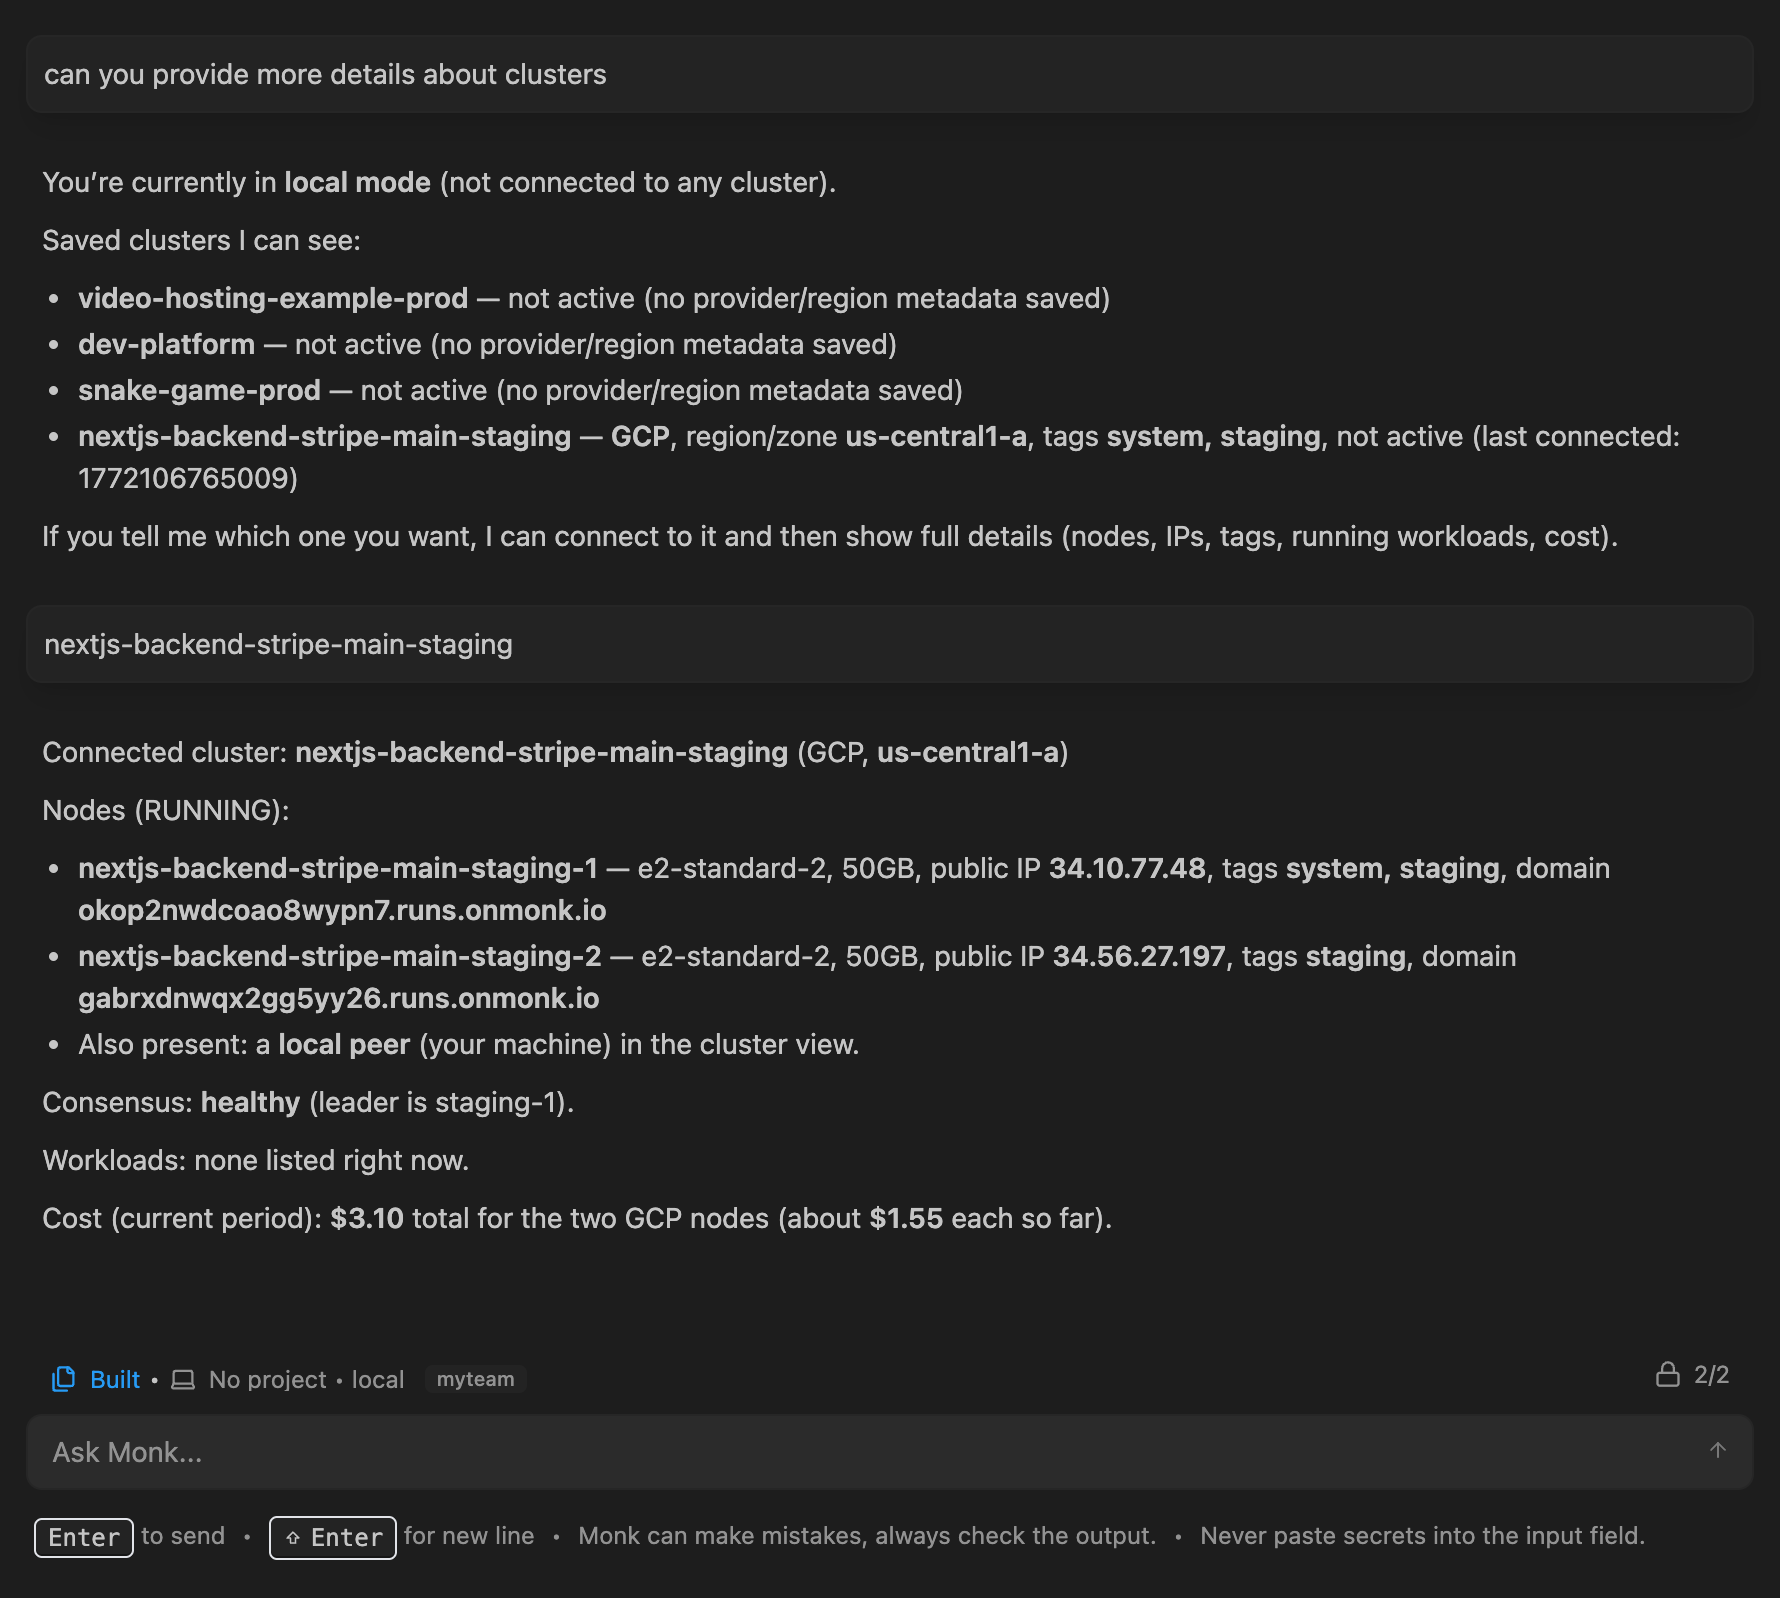
Cluster Management
The Cluster Management menu lets you view and manage active clusters in your org. In the UI:- View cluster status (active, personal, organization)
- See linked environments and projects
- Actions: Add Member to Team, Switch Between Clusters, Link Cluster to Environment, Exit Cluster, Delete Cluster
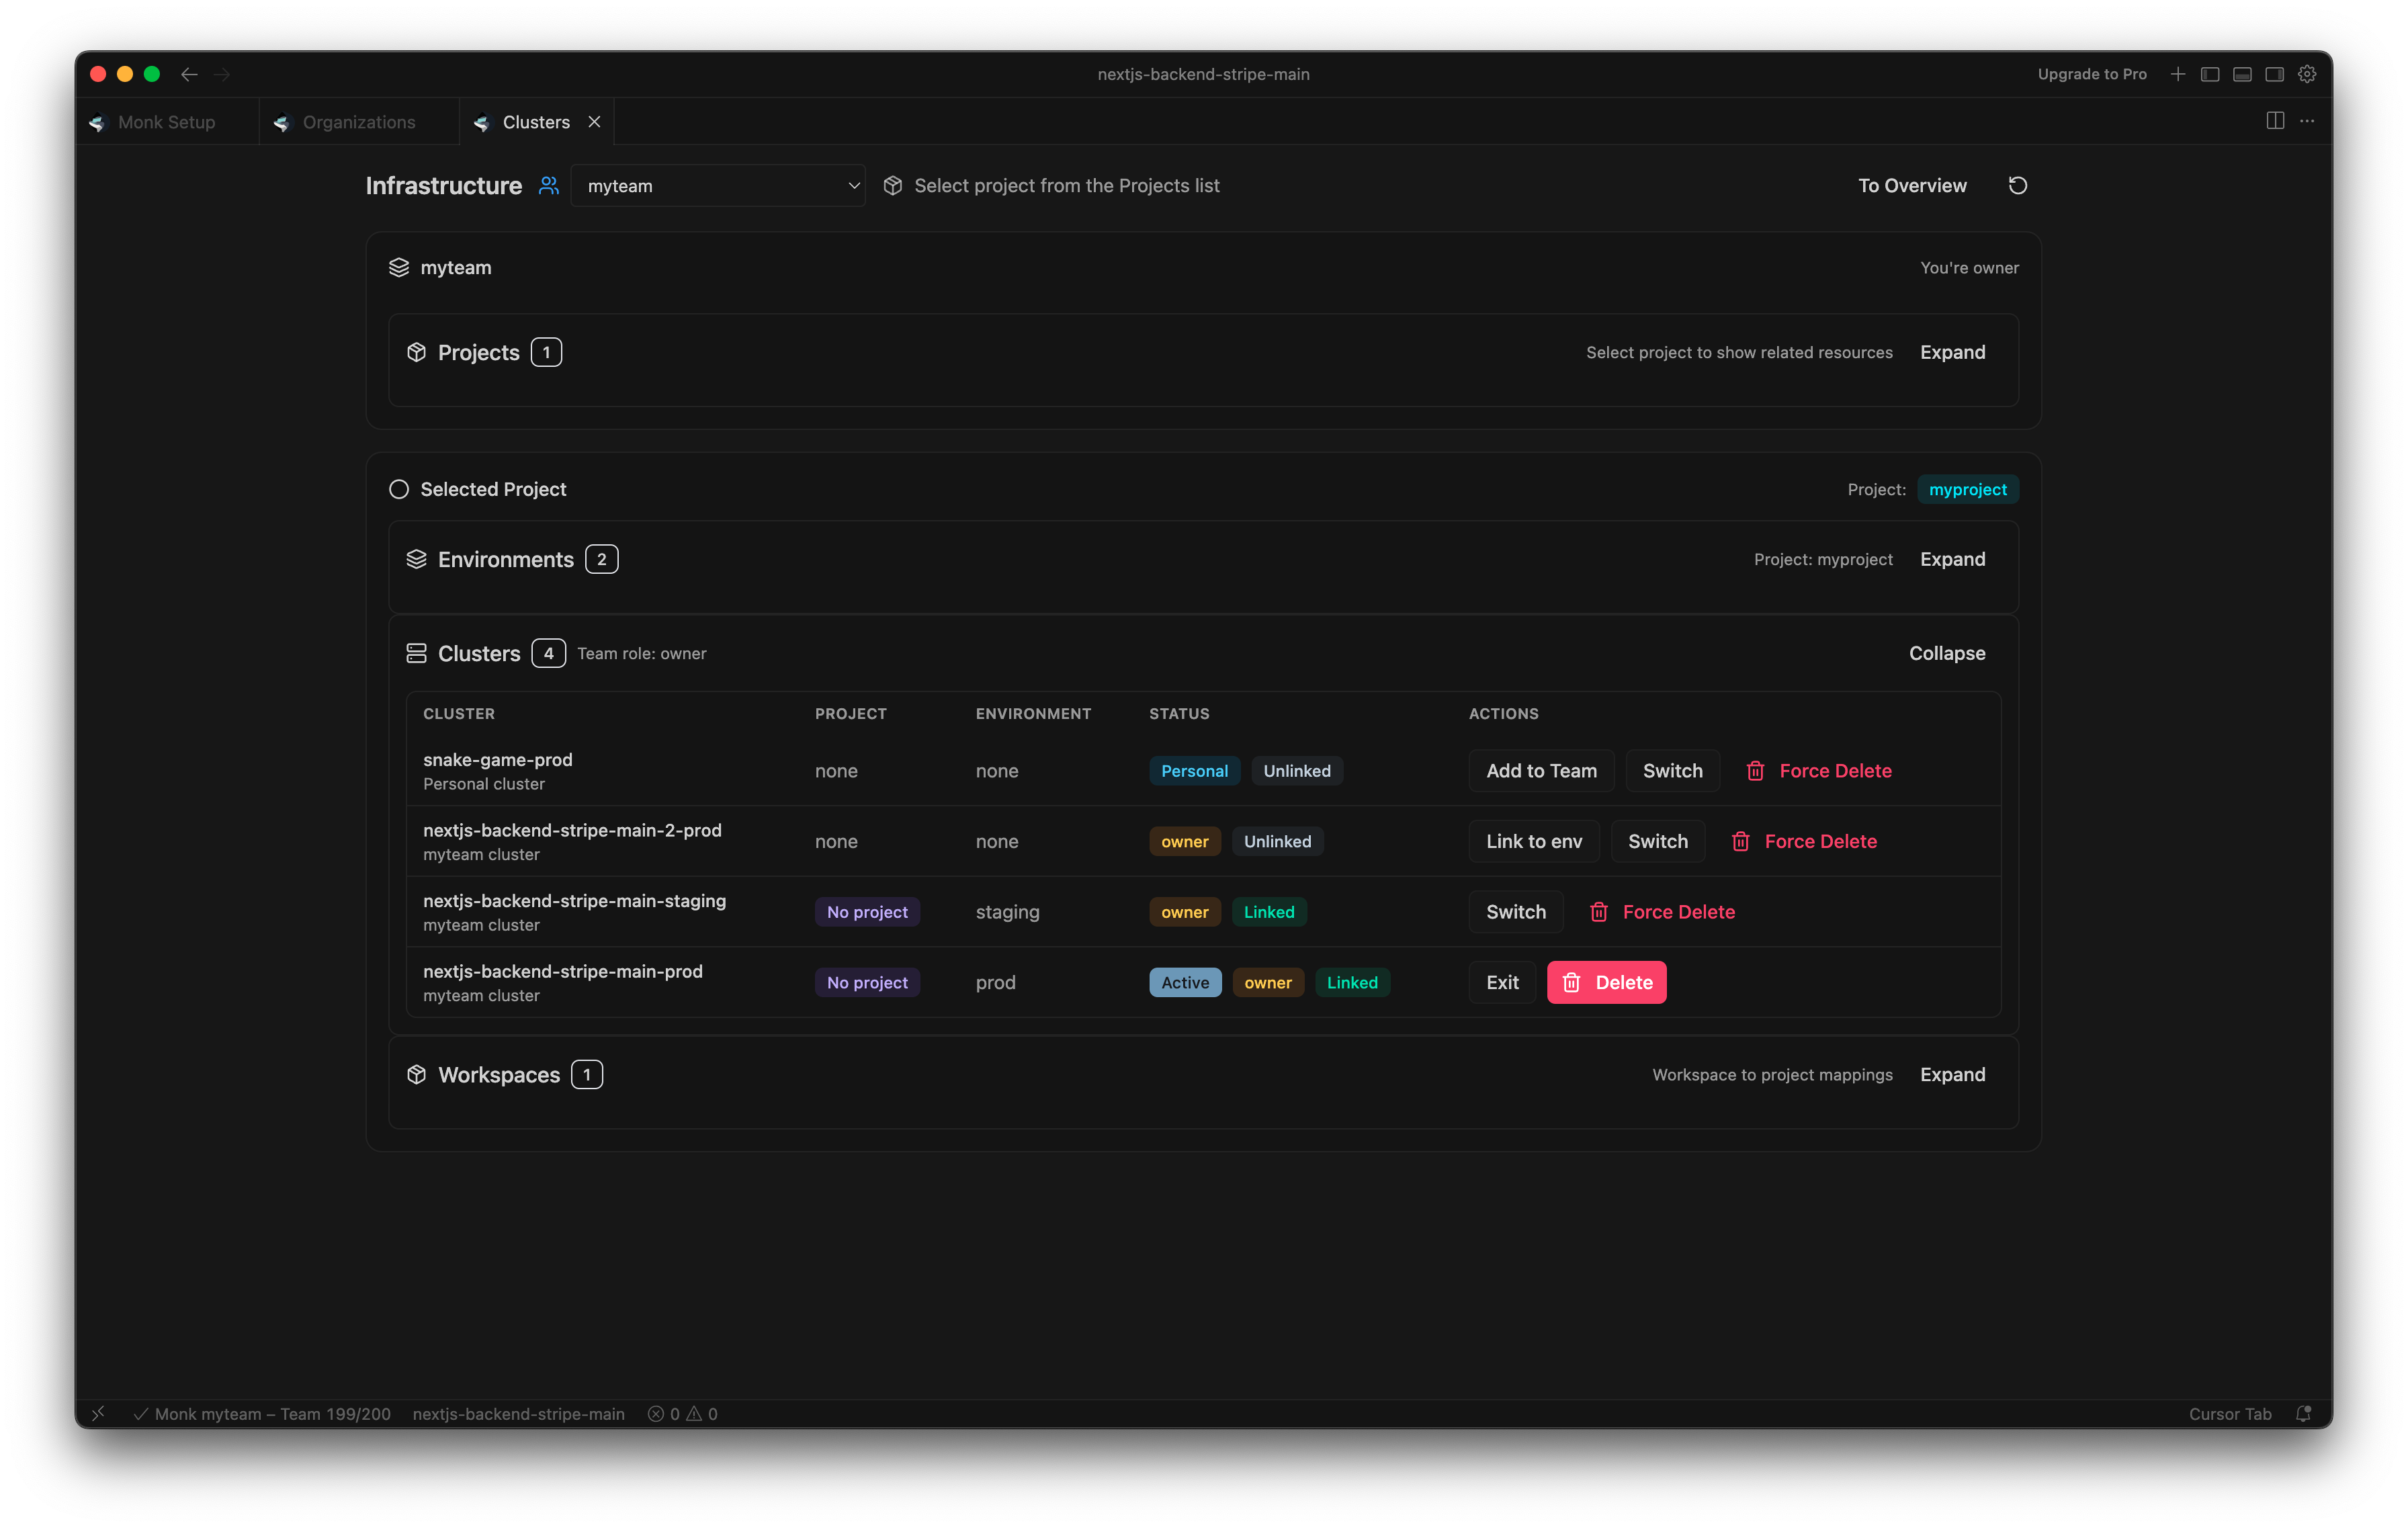
Personal clusters can be added to an organization via “Add to Team.” This transfers ownership and applies your org’s RBAC policies.
Environments
Manage environments across your organization — view linked projects and clusters, set per-environment instructions, delete what you don’t need. Monk supports both cloud and on-premises environments.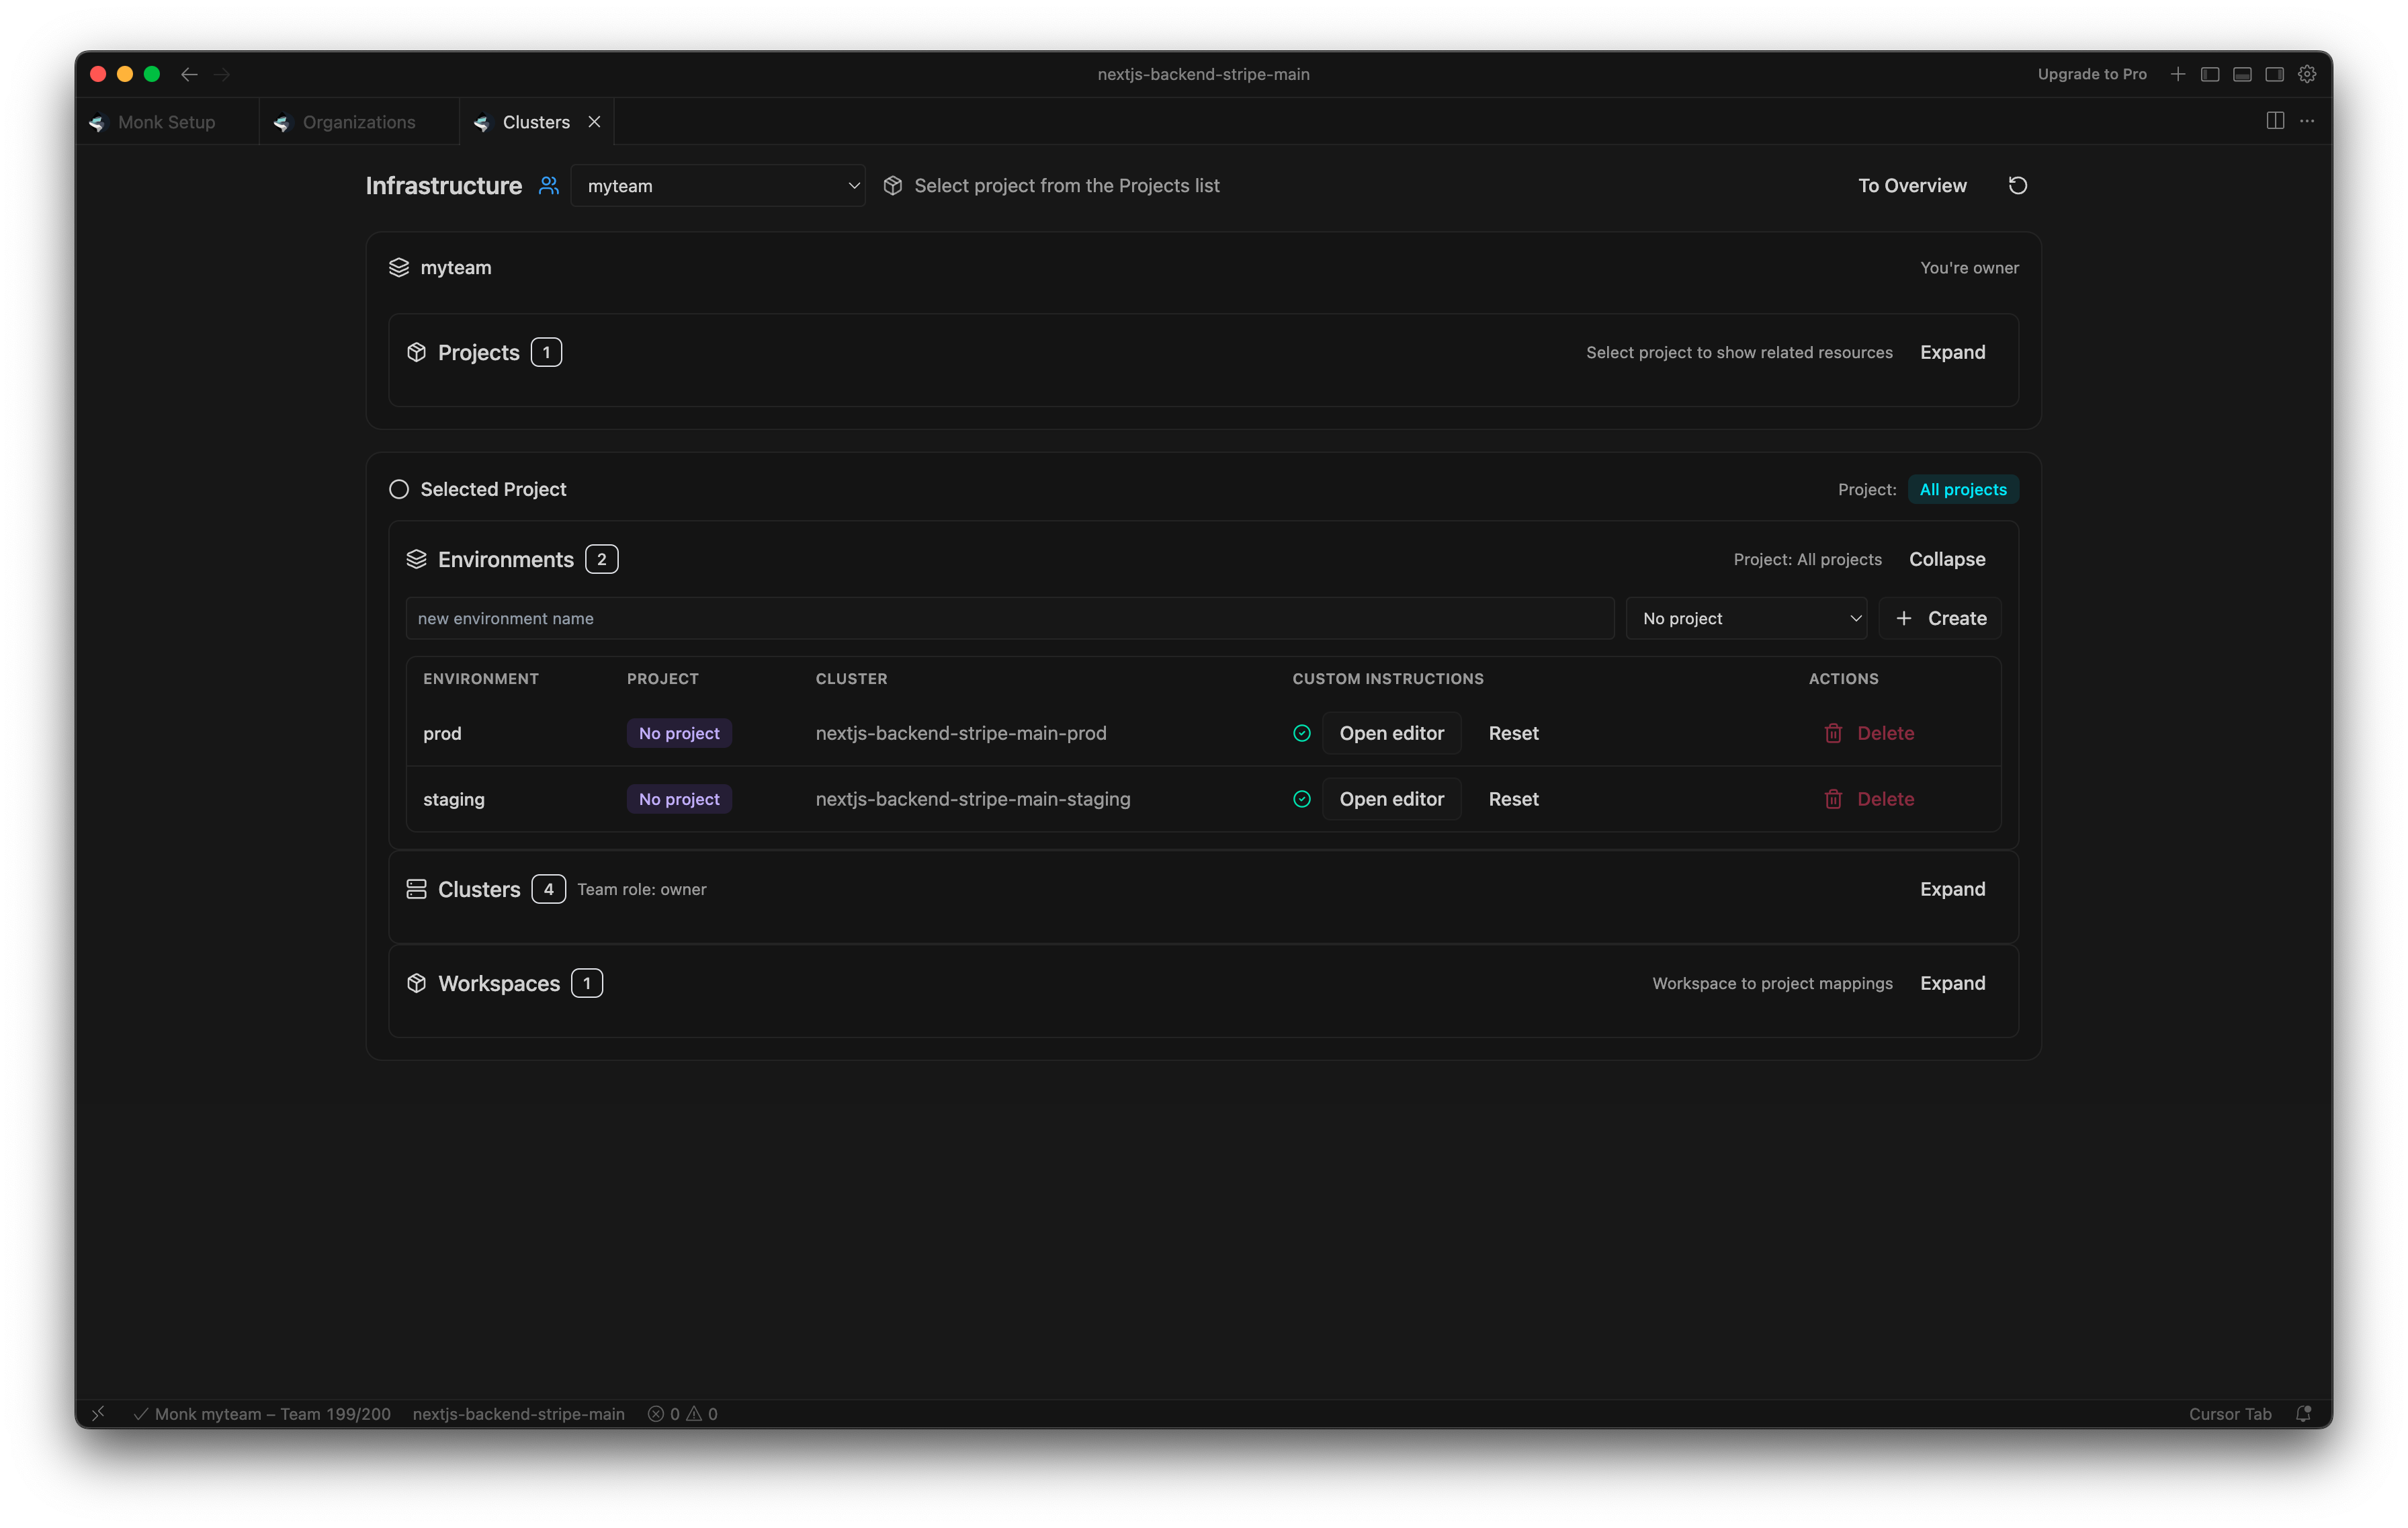
Full details in Multiple Environments.
Workspaces
View all shared workspaces in your org. See which project each workspace belongs to, check its status, assign workspaces to projects, or delete them.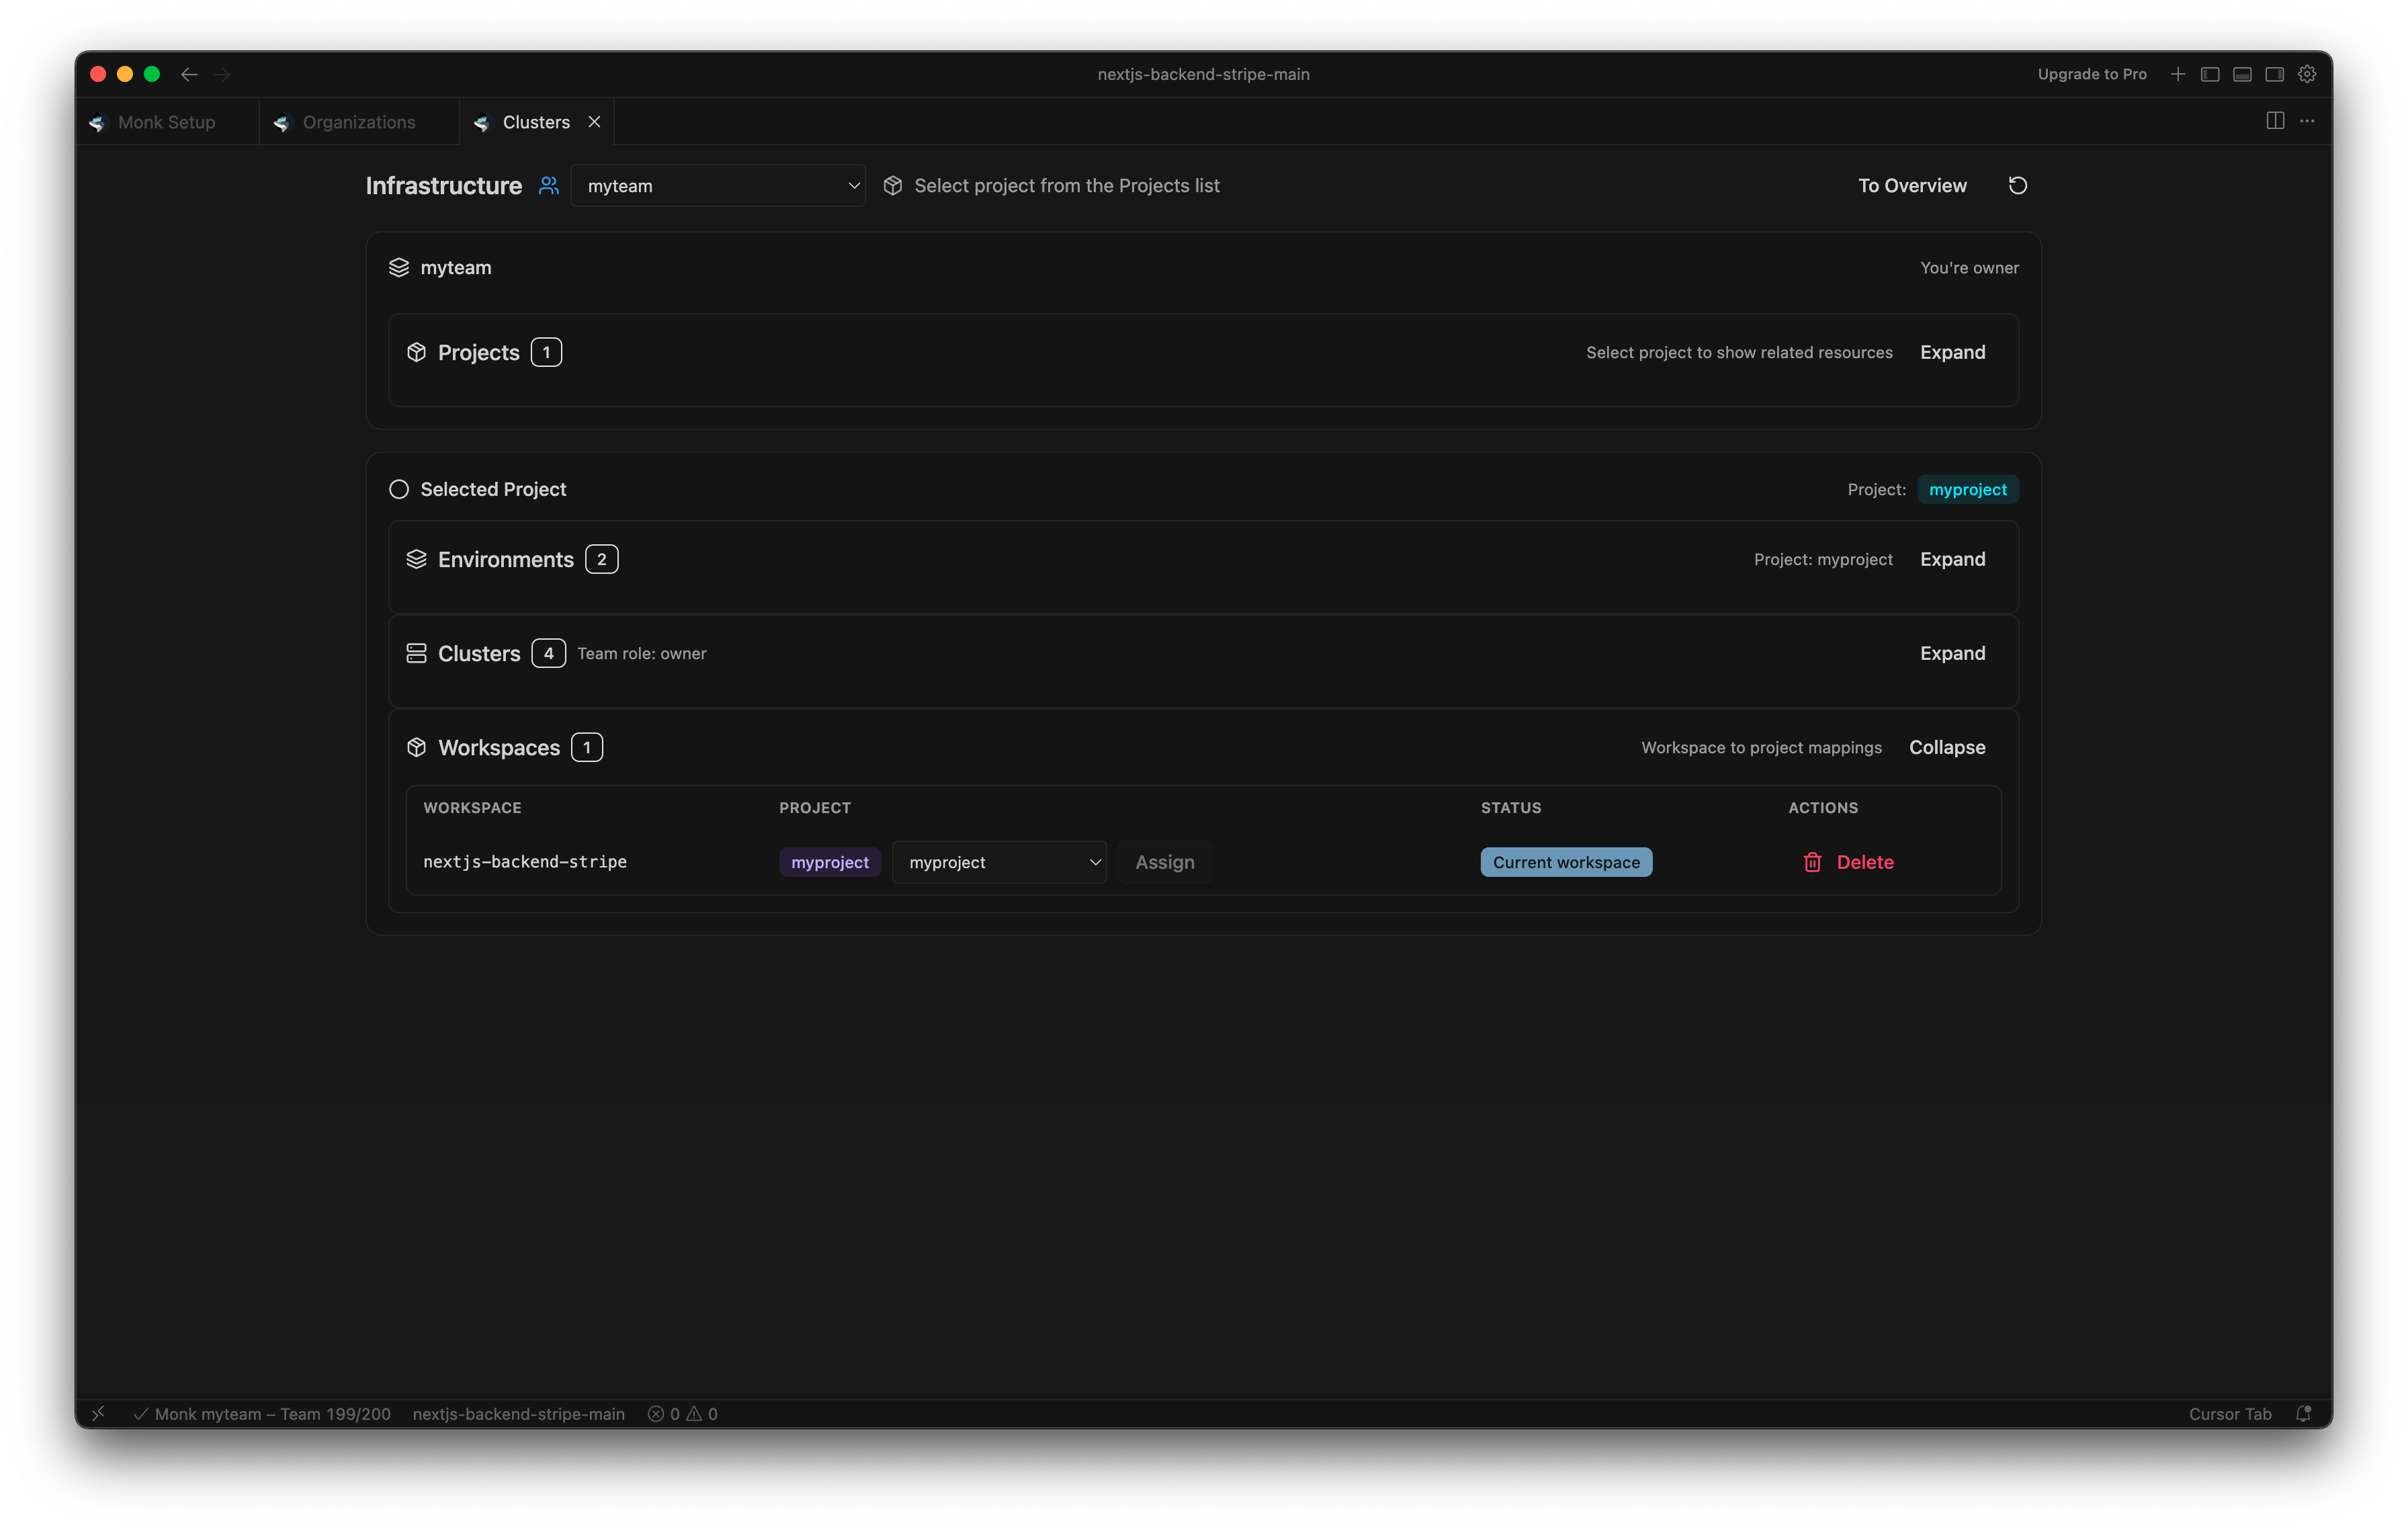
Projects
Owners and admins can share projects with the team. Set custom instructions per project. No limit on shared projects. The status view shows linked environments, clusters, and workspaces at a glance.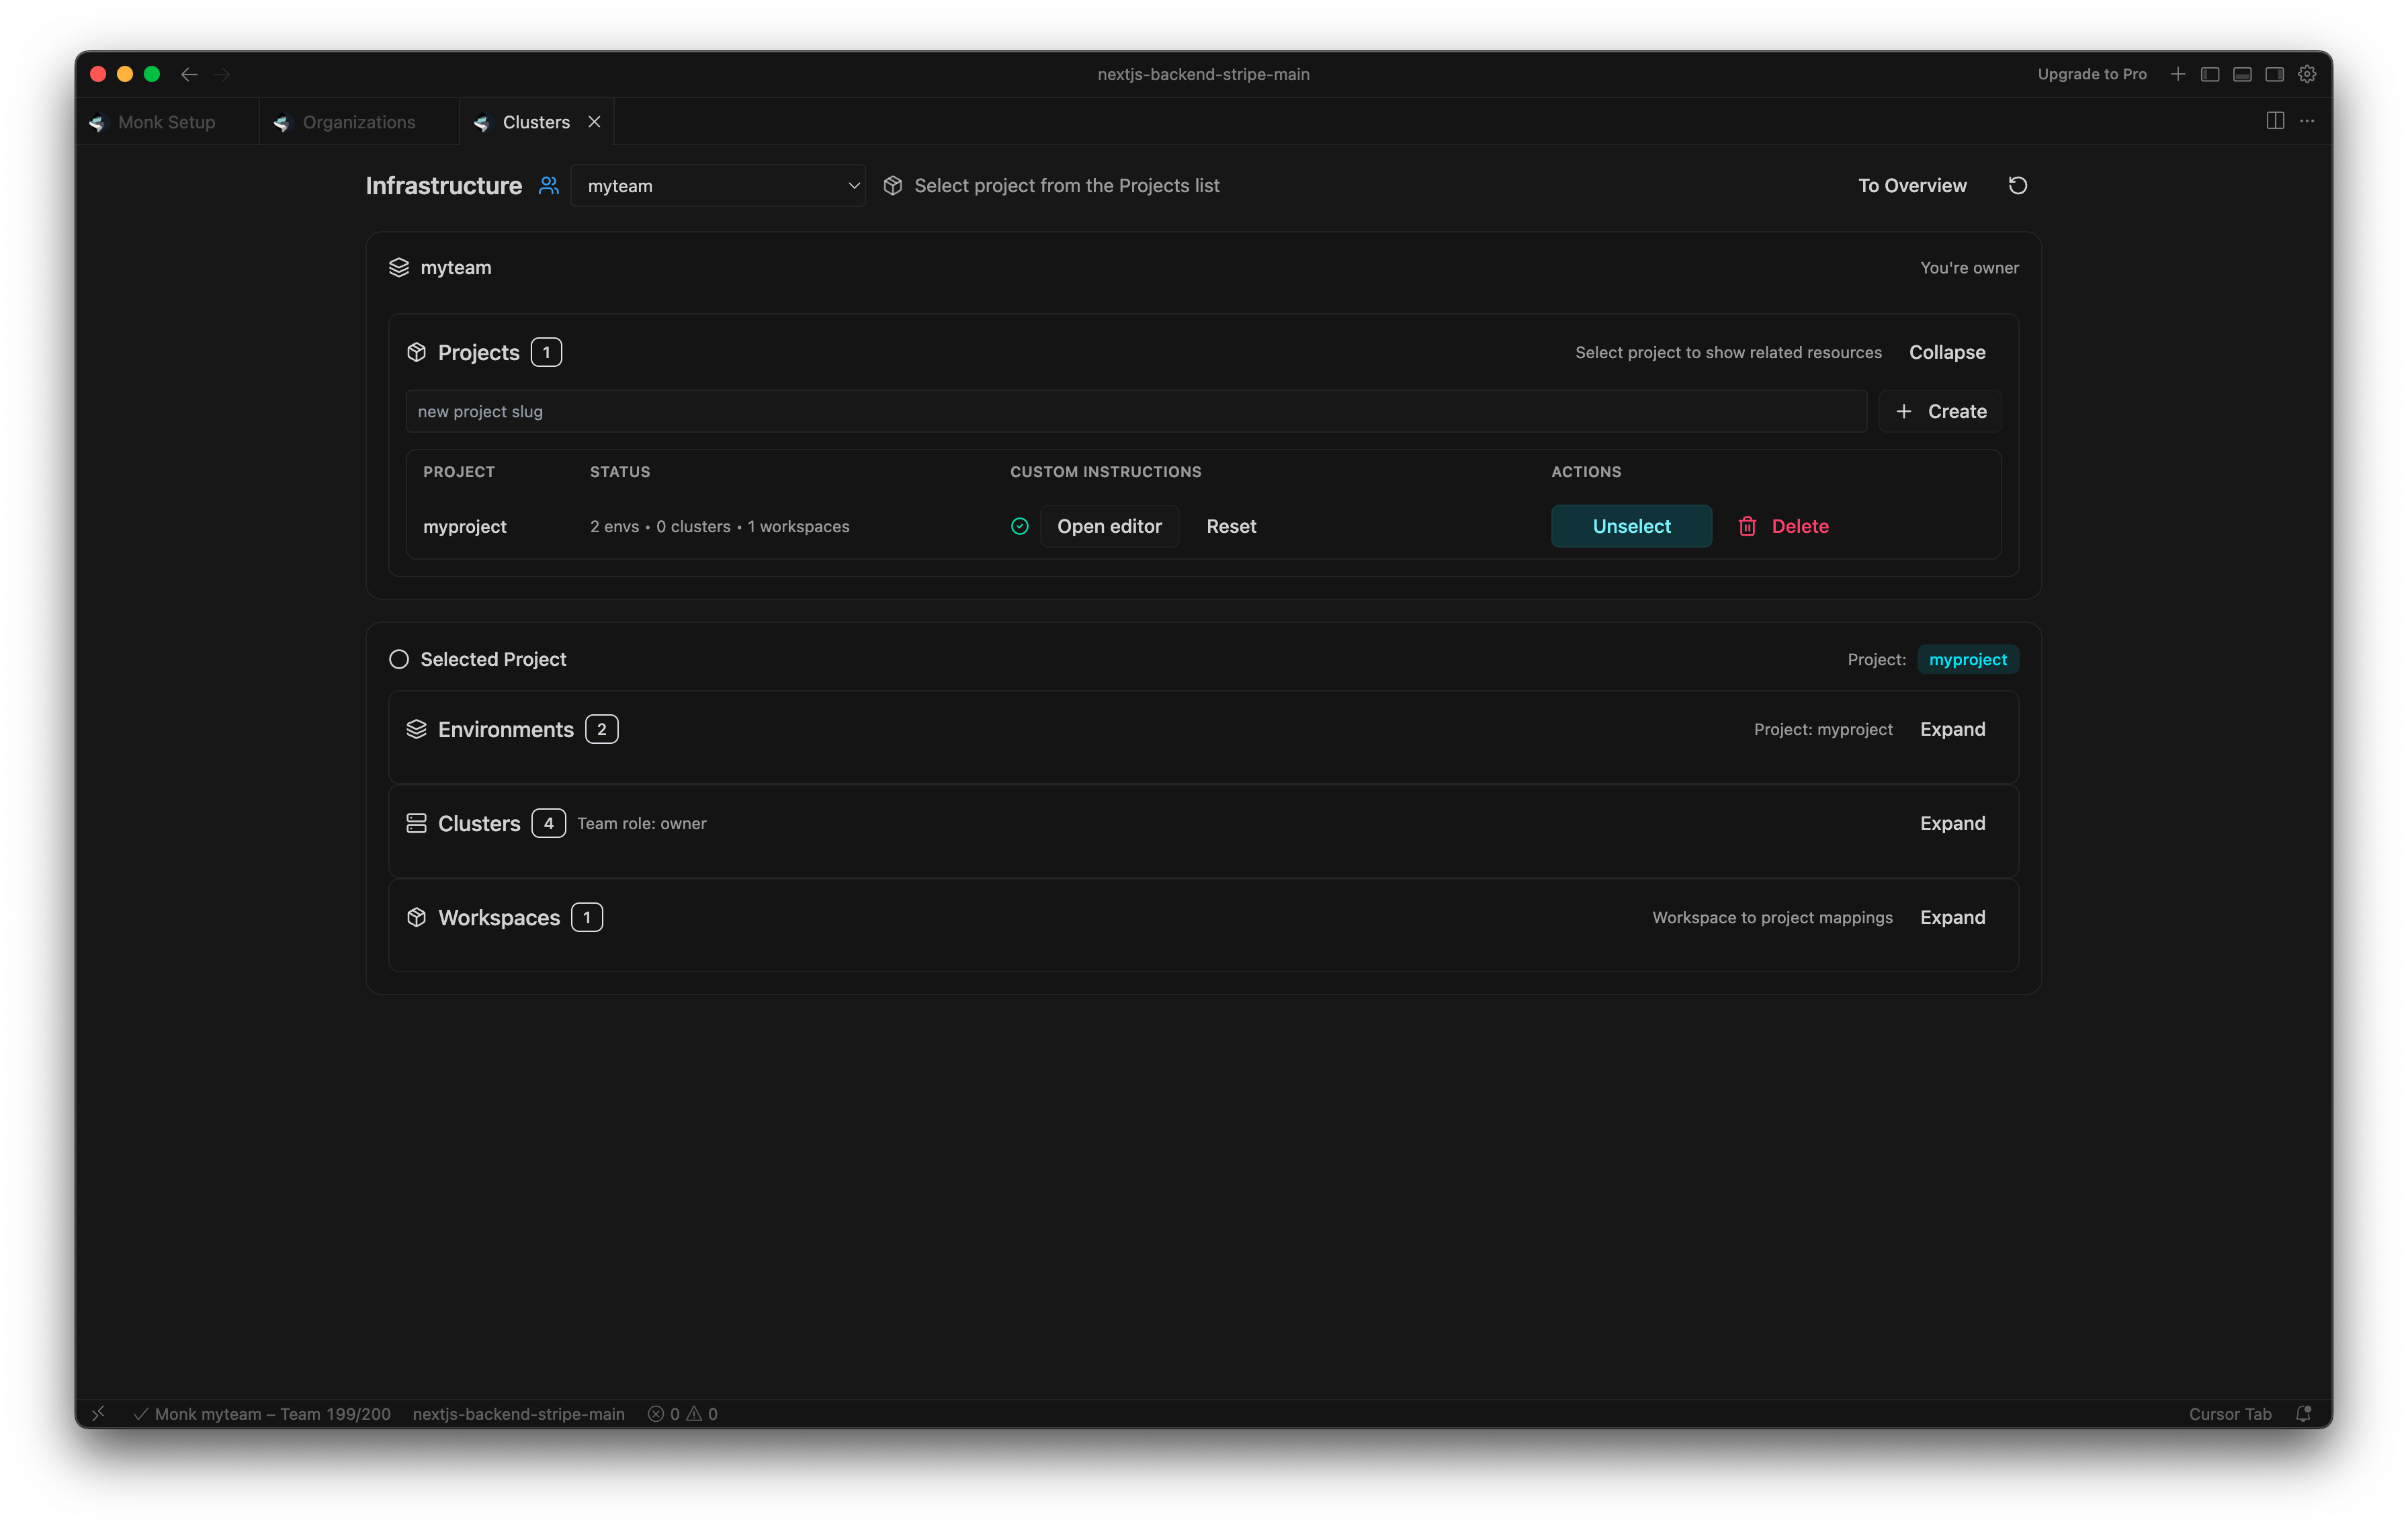
Full details in Project Organization.
Access Policies
Configure policies in the Organization panel under Cluster Policies:- Create policy: Controls who can create or add clusters.
- Default delete policy: Applies to newly created clusters.
Shared Secrets
Secrets can be scoped to workspace, user, or team. Team secrets require an organization context and an environment linked to an org cluster. In chat:Audit Log
The audit log records org actions: builds, deployments, cluster operations, secret changes. View recent events in the Activity panel of the dashboard. Owners and admins see team-wide activity; members see their own.
See Access Control & Security for more on audit logging.
Access Control & Security
RBAC, audit logging, and runtime security enforcement.
Project Organization
Environments, clusters, workspaces, and team secrets.